Printing Tutorial | {Lego}
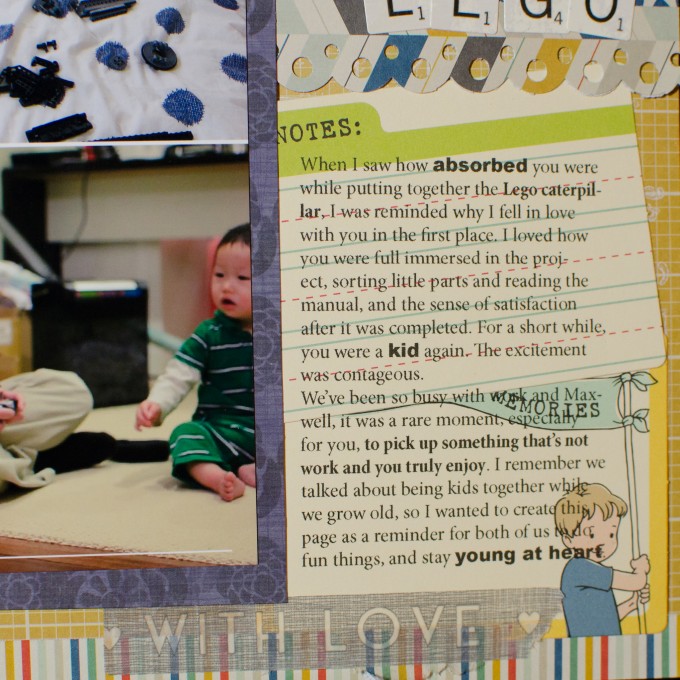
I’d like to share a mini tutorial how to print on journaling cards. In this case, I printed one paragraph on two journaling cards, as if using a typewriter:

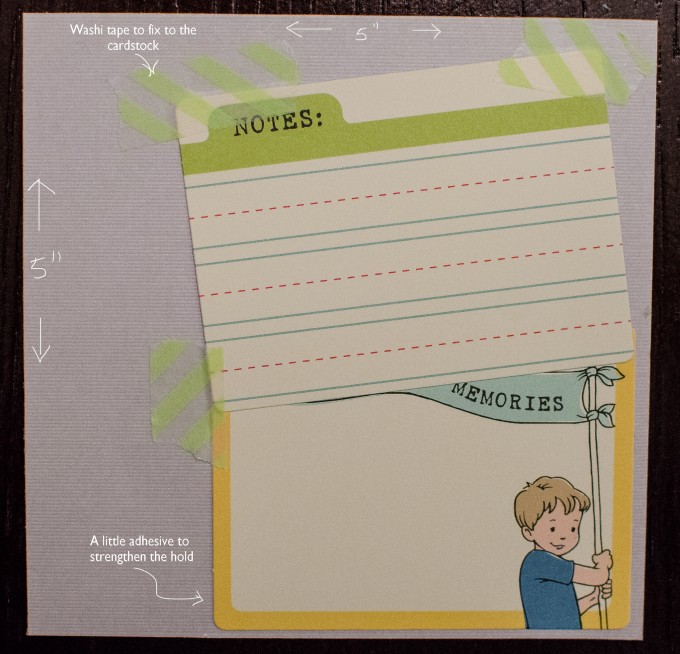
First, I taped two journaling cards on a piece of card stock. I cut the card stock in to an easy-to-meausre size, 5″ by 5″. I used wash tapes and also used a little bit of dot tape runner, just enough to hold the journaling cards in place but still easy to remove from the card stock.

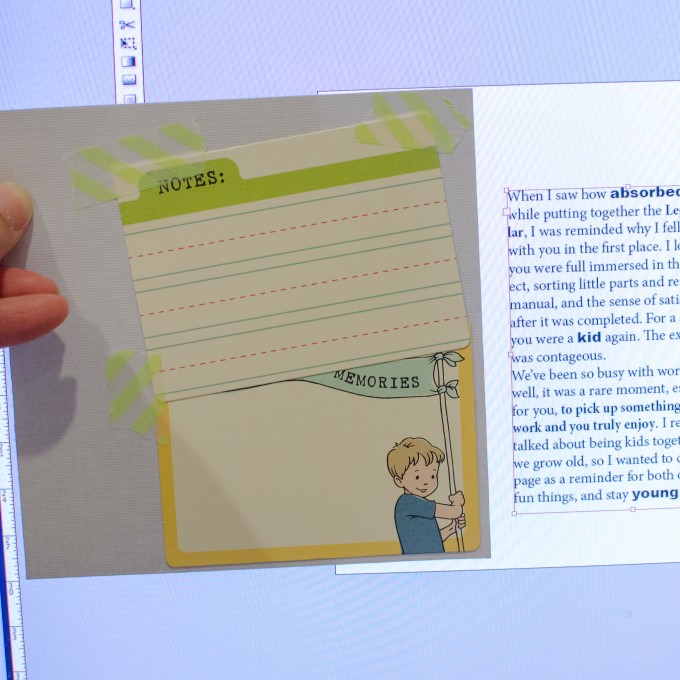
Then I held up the card stock against the journaling I typed up on the computer screen, to roughly see if they’ll fit on the journaling cards.

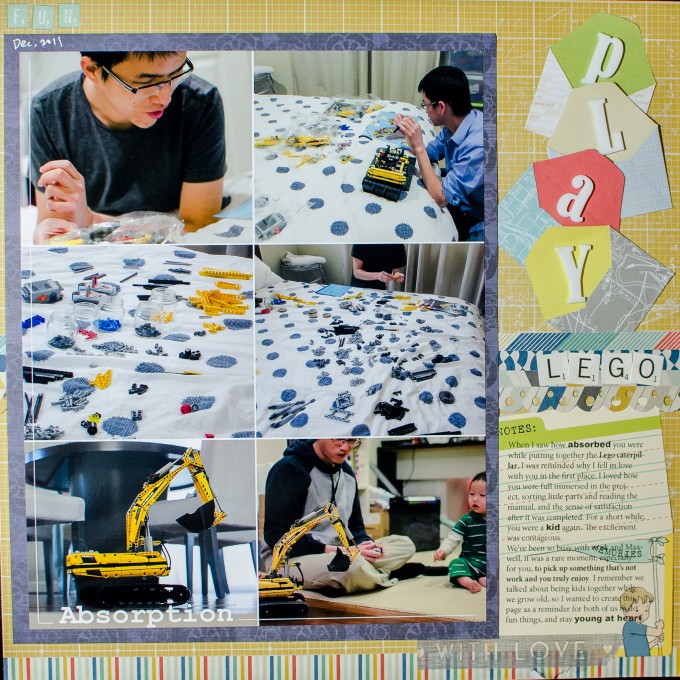
That’s it! Remove all the adhesive and put them on the layout.

Supplies:


I’ve finally mastered the computer journaling. I have so many fun fonts downloaded but my favorite is a typewrite font.
I keep seeing the ‘With Love’ washi tape and you’re making a great argument for me to put that in my cart and get it!
Great page and tutorial! Love the grid of pictures and the title work!
So very cool! Thank you for the fantastic new technique! I had no idea the Studio Calico envelopes were that tiny! I should look at the specifications more closely! Beautiful page- love how you used washi tape and how the journaling cards aren’t straight.
I love the layout, and thanks for the tips on computer journaling. I am too lazy to do it too often, but this layout makes me want to try it.
Good idea. I love printing journaling for my layouts.
Great idea! I have done this with removable adhesive on the back but I like the idea of washi tape better. When I find and unpack my printer I will give this a try! :)